I’ve had my Brinkmann smoker for over 20 years now and I hope I get to use it another 20 years. During that time I’ve made all kinds of smoked meats with it. It was a basic charcoal model smoker and it was a great smoker for beginners. I knew the basics about smoking, in that, you wanted to cook at low, consistent temperatures for longer periods of time.
By today’s standards, my smoker may be a dinosaur, but I just can’t justify spending hundreds of dollars to replace it when it still works so well. What little bit of tending it requires, is all part of the smoking experience. I know Brinkmann doesn’t make smokers anymore, but I’m sure there are several less expensive makes and models of smokers available today, that will work just as good for you and your family.
Why I Went Electric
Table of Contents
The only thing I was leery of was using charcoal for those extended periods of cook time. I grilled with charcoal for many years. I still love the taste of a steak or burger grilled over charcoal, but there is a big difference. Once you get your coals up to temp in a grill, you throw your steaks or burgers on and you’re done cooking in 15 to 20 minutes. Now try keeping that temperature up, and consistent for 6 hours, or more, without stirring up a bunch of ashes! Now you get the picture?
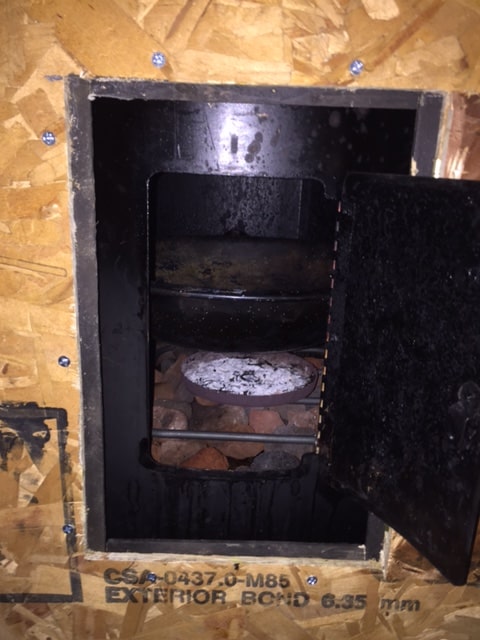
At the time I bought my smoker Brinkmann sold an electric conversion kit, so I bought one. Basically, it was an electric element that you put in where the charcoal pan sits. A small 6” pan came with it, to put your wood chips in and it sits right on top of the element. It worked well. I didn’t have to mess with charcoal and I could add more wood to the pan through the front door.
Nothing Is Perfect
I have read a lot of criticism about the smoker and the need for all the “mods”, but I’ve not experienced most of them, as they seem to center around the charcoal use. However, I did experience one issue, and that was keeping the temperature up at certain times. I live in Michigan and have you ever tried smoking a turkey on a cold, windy Thanksgiving day in a smoker. It didn’t start off too well! Luckily I still had the box it came in, so I slipped it over the top and the problem was solved. That simply cardboard box blocked the wind and held the heat in just fine. Thanksgiving was saved! Believe it, or not, I used that box for at least 2 or 3 years, until I was smoking a turkey on a cold, windy, and rainy Thanksgiving day. That was the end of the cardboard box!
The Solution (Check out my update below!)
That’s when I made my new smoker box. It’s more of a work in progress, as I keep tweaking and adding features. At present, it works well, but on warmer days I have to prop the lid open or even open it all the way. Plans are in the works to add vents to it, so I don’t have to prop the lid open anymore. (It’s done!!) I suspect on those really warm days I will always have to open the lid, but I can live with that.
I have also read criticisms about the “crappy temperature gauge” in the lid. Well, I’m not going to argue with anyone about that. Why Brinkmann did that, I’ll never know. What I will say though is by using an oven thermometer, placed on the top rack a few times, I was able to determine the temperature range well enough that it never affected the end product too much. There you have it, the history of me and my smoker.
Tips On Using Your Smoker


This article was not intended to be a step by step, how to smoke article, simply because there are so many different cuts of meat and dozens of ways to cook each of them. This is intended to provide some helpful ideas and tips to help make your smoking day go smoother. So pick the recipe you want and prepare your meat. There are so many marinades, rubs, and injectable seasonings, it will make your head spin. Check out Amazon for a great selection.
Make sure your meat is completely thawed. That will drastically affect your cooking time, especially on larger cuts of meat. A fresh cut of meat, never frozen, will prevent this. While your meat is marinading, or before you begin preparing your meat, now is a good time to start soaking your wood chips. The wood type may be specified by the recipe or it can be whatever your personal preference is. There are so many good choices of smoking wood to choose from, whether you purchase them or collect it yourself. One of my favorites is applewood.
Smoking Time
Next, determine the desired cooking time. Some meats, such as ribs, are fairly uniform in size and thickness and many recipes just specify to smoke them for “X” amount of time. But other cuts of meat require you to cook them for so much time, per pound of meat. I’ve used anywhere from 1 hour per pound to 90 minutes per pound, typically at 225 degrees. That’s at the lower end of the ideal range on the “crappy temperature gauge” on my smoker. Your specific recipe should have a recommended smoking time, if not, the 1 hour per pound is a good starting point. The critical part is getting a good weight measurement for your meat and monitor the progress as it cooks.
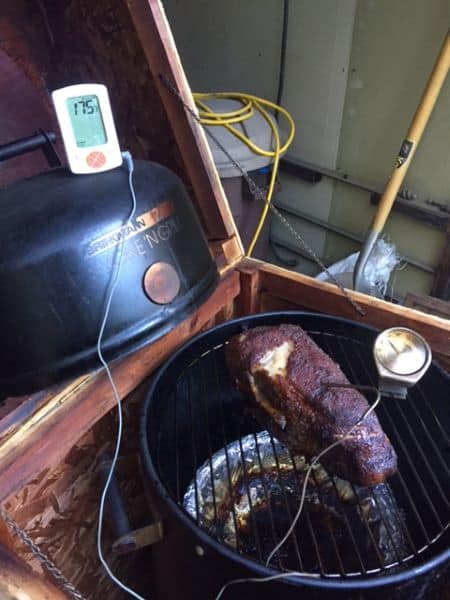
In the past several years the monitoring part has been made much easier. There are many different brands of thermometers with a remote probe. This allows you to monitor the temperature without opening the smoker. There are even some thermometers that will communicate with your smartphone via Bluetooth! I highly recommend a remote thermometer for smoking. It prevents significant heat loss from opening up the smoker to check your meat thermometer.
Time to Warm Up the Smoker
Your wood chips are soaking and your meat is prepared. It’s time to fill the water pan and start warming up the smoker. If you have to use an extension cord with your electric smoker, make sure it is a heavy-duty cord. A lightweight cord could affect the ability of the smoker to reach its full temperature. It could also be a fire hazard too.
Another thing I like to do is line the water pan with aluminum foil before filling it. This simplifies clean up significantly. Now just wait for the smoker to finish warming up. Some recipes have multi-step warm-up/cooking levels, so be sure to check your recipe closely. I’ve always had good luck just shooting for the recommended cooking temperature. It’s such a low cooking temperature, that when you open the smoker to add the wood chips the temperature drops and you slowly start warming it up again.
Monitor Your Progress
With the meat and the wood chips in the smoker; its time to start watching the time. You should have inserted the thermometer into the meat too. Now it’s just a waiting game. You need to monitor the smoker temperature and keep it at the desired level. You will also need to add wood chips occasionally. The smoke flavor, like many things, is a personal choice. A good starting point is to add a handful of wood chips about every hour and a half. Again experience will guide you in the future.
There you have it; it’s that simple. The keys are to make sure your meat is completely thawed. Research your recipe and cooking times. That includes getting an accurate weight measurement. Don’t be afraid to experiment with different seasonings. And above all, patients! Smoking meat isn’t a chore, its a labor of love. Be sure to check out some of our smoker recipes on our “Kitchen” page. Enjoy!
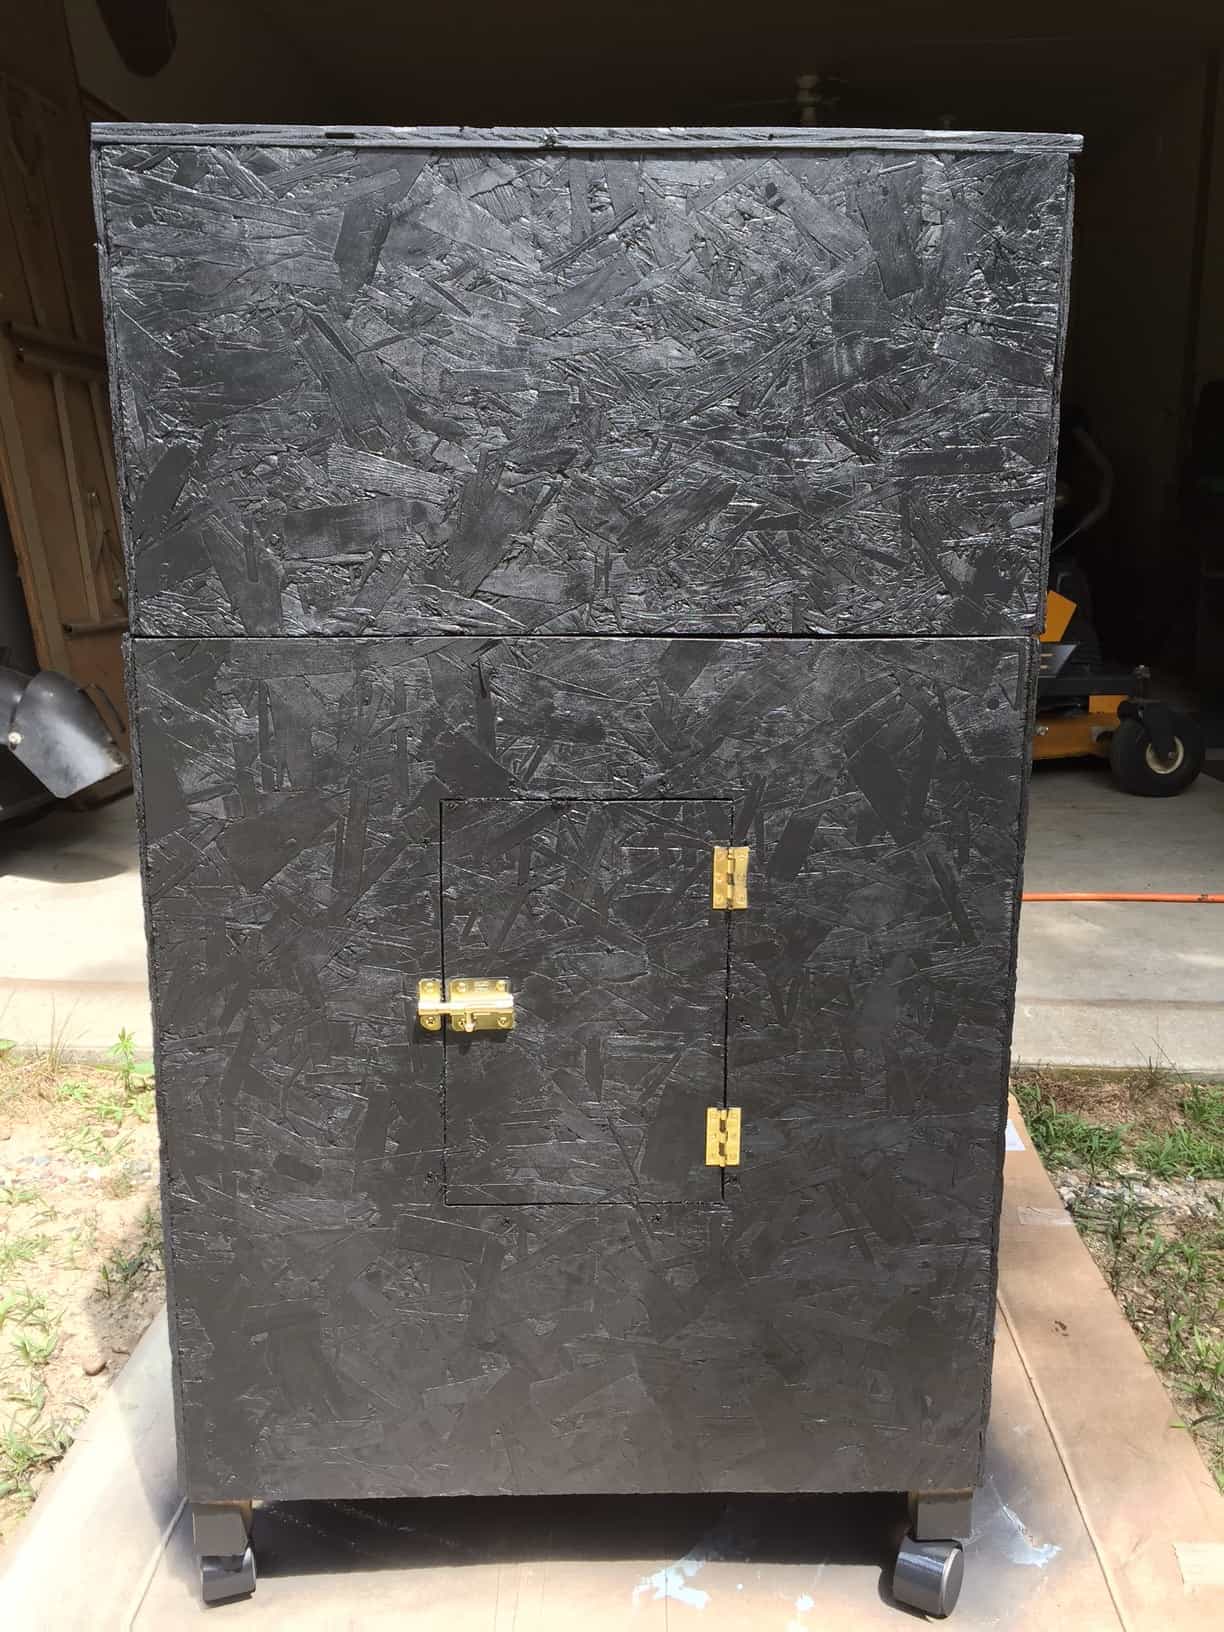
Update: I’ve Completed My Smoker Box!
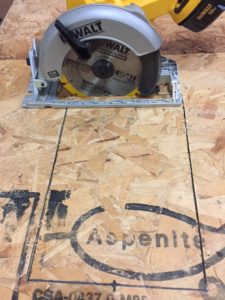
Since I’ve written this article I’ve completed my smoker box project. I cut the door in the front, so I have easy access to add wood chips and water. This certainly should have been part of the initial project, but I was short on time when I first built it. It’s done now and it works great!
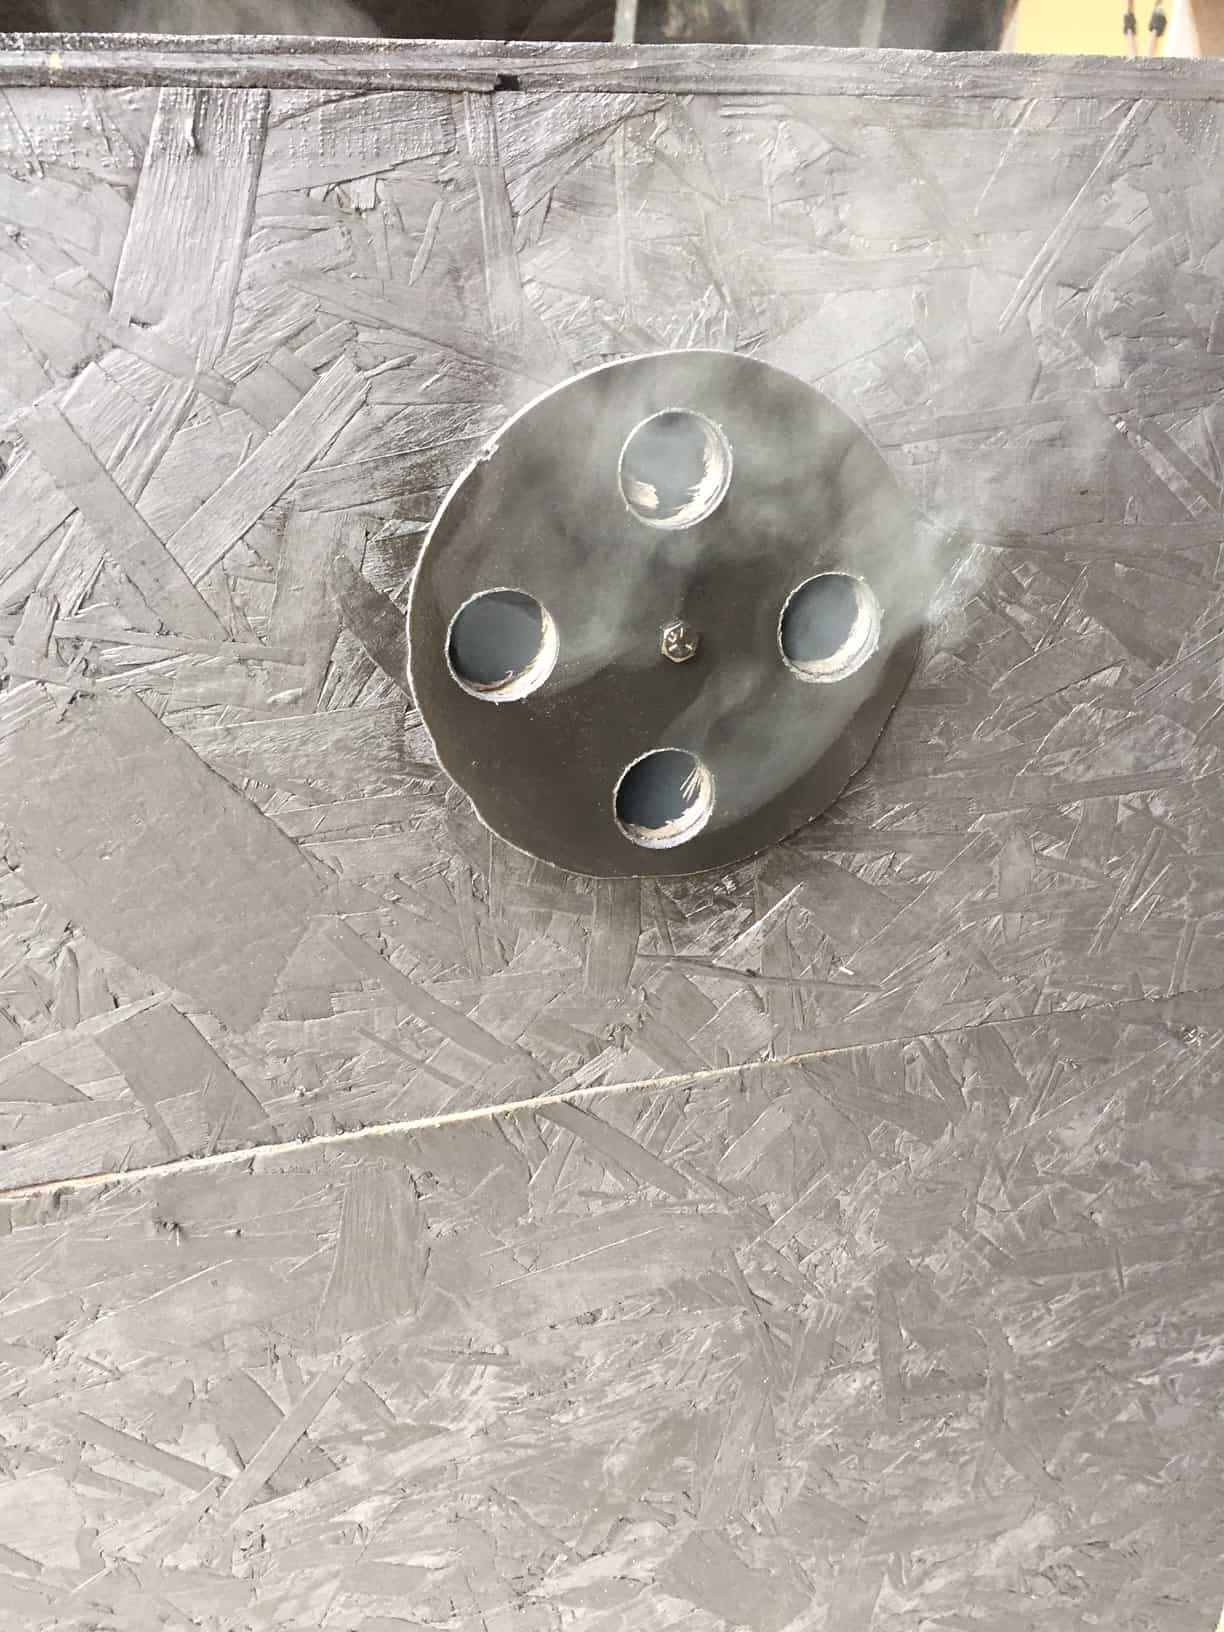
Secondly, I finally have some vents installed on the sides of the box. There’s 2 on each side, top, and bottom. I used a 1″ hole saw in my trusty Dewalt cordless drill, which worked great for this. This was done to help regulate the temperature of the cooker, more than to try and control the smoke. I’m ready for smoking in any weather now!
Lastly, I put a little paint on it to gussy it up. Caution: I do want to recommend having an oven mitt, or a heavy glove, handy when opening the box and removing the lid. The lid’s handle will be very warm!! And yes, I did find this out the hard way! Seriously, The insides of the box will be close to the smoker’s internal temperature, including the wood chip access door.
Tools Used
As you can see from the pictures I used some power tools to do the work, so always be careful and use the proper safety equipment. I do have articles on the Dewalt power tools I own and also on safety gear you should use doing your on home projects. Please take time to read them and they will help you be prepared to tackle projects like this, and many others, safely!
I hope this was helpful and inspires you to drag out your old smoker, dust it off and fire it up. There’s nothing better than treating your family to a great smoked meal, without having to spend hundreds of dollars on an expensive smoker. Enjoy!