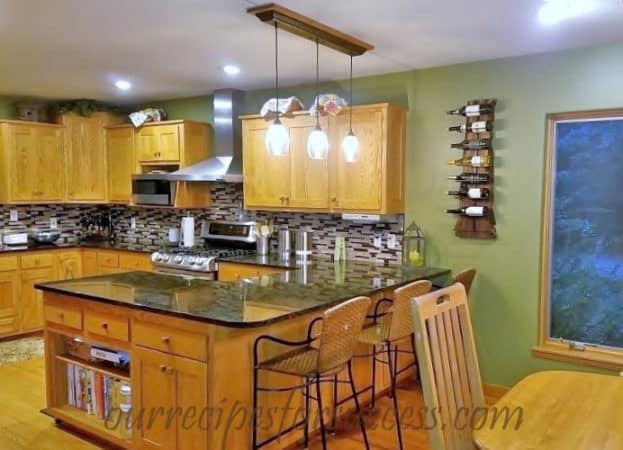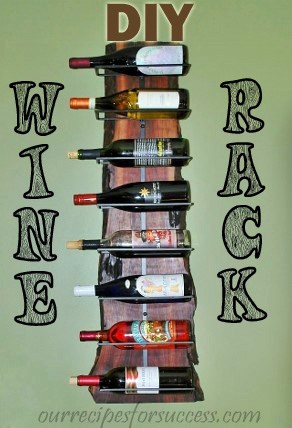
DIY home projects don’t have to be large or complicated to be considered a success. Even smaller projects can make a big impression, especially if it has some sentimental value thrown in. See how we transformed a plain wall mounted metal wine rack into something that was extra special to us. The best part is you can easily do the same.
In this article, we will be providing you with a few links to some products for pricing and informational purposes. We are required to let you know some of these links are “affiliate links”. This means if you click on a link and make a purchase, we could make a small commission, at no extra cost to you. This helps offset the cost of maintaining our website. Now, let’s get started.
This wine rack project is one that my wife, Cindy, created. The actual wine rack she used was purchased online from Amazon. Etsy has some unique metal wine racks that could be used as well. Cindy found one she liked and that matched the decor of the space she was going to hang it in. There were many to choose from that would have worked perfectly with this project.
What Made This Project Special?
Table of Contents
The wood that the metal wine rack was mounted to is truly what made this project special. The wood was one of several walnut boards that her father had in his workshop for years. They came from a farm across the road from where her grandparents farmed in Canada. Those same board sat in her grandfather’s workshop for many years before going to her father.
The boards were 1-½” thick rough sawn lumber and they still had their rough edges. They had beautiful, deep wood grains in varying colors. This made them nice as is. Every one of them – grandfather, father, and daughter – knew these boards needed to be used for something special. And we had a couple more of these boards that were used in another DIY project we’ll be sharing soon.
In this article, I am going to tell you how Cindy turned one of those old walnut board into a beautiful wall mounted metal wine rack. But in reality, anyone can easily do the same by using your favorite wood and any type of stain, paint, or finish you like. You can make it rustic like ours, or you can create something elegant. That’s the wonderful part of DIY projects.
Preparing The Wood Board
The transformation of the old rough sawn boards into a beautiful wine rack was done in a relatively short amount of time. The goal was to maintain a more rustic look, so we did not want to remove all the knots or holes. Follow along to see how easy it would be for you to create something very special.

Determine The Metal Wine Rack Placement
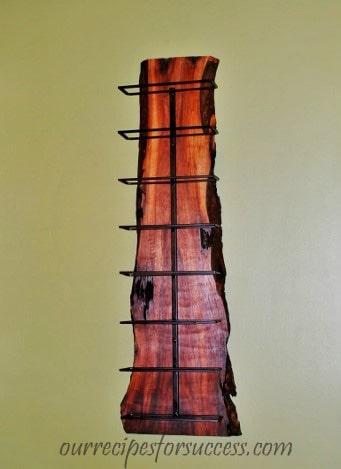
After the wood surface was prepared and finished, it was time to figure out the placement of the wine rack on the board. We wanted to have a couple of inches of the walnut board showing both above and below the bottles of wine on the finished product. Our walnut board was approximately 39 inches long. The new 9 bottle wine rack was approximately 38 inches long. The average bottle of wine is about 3” in diameter. Because of this, we couldn’t get our desired look.
So before we could mount the metal wine rack we had a little prep work to do first. To get the look we wanted we ended up cutting the top wine bottle holder off from the rack. This allowed the walnut board to be seen both above and below the wine bottles that will be on the rack. These types of things are all personal preferences and are what help to make each project your own.
Preparing To Attach The Metal Wine Rack
With the wine rack’s vertical placement finalized above, it was time to mark the horizontal position. Our layout was fairly simple, so we were only looking to center the wine rack horizontally on the board. Here’s how we did it.
Things To Consider Before Attaching The Wine Rack Board To The Wall
When mounting anything to a wall it’s important to make sure it is securely attached. You should always estimate the total weight of what you are mounting and anything that will hold or will sit on it. I estimated the weight of the board, the metal wine rack, and 8 full bottles of wine to be approximately 45 pounds. We were lucky in that we would be mounting our wine rack directly onto a wall stud behind the drywall. We used three #10 screws which should be able to safely hold 75 pounds. If you are not able to anchor into a stud, be sure to use the appropriate wall anchor rated for the weight of your project.
Preparing The Wine Rack Board Before Attaching It To The Wall
The #10 screws we used to mount the wine rack board were flat head screws. They were equally spaced on the centerline line mark made above. We positioned them so they would be covered by the wine rack frame after it gets installed (below) The screws were 3” long to allow for the 1-½” board, ½” drywall, and 1” of engagement into the stud. Note: anything over 1-¼” engagement into the stud you run a great risk of hitting any electric wiring or plumbing that may be routed through the stud walls.
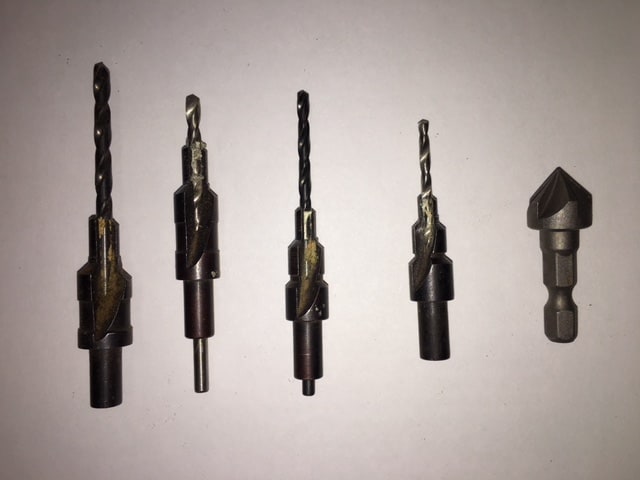
You will want to drill pilot holes in the wall stud, to prevent splitting the wood or damaging the screws. For a #10 screw in a softwood (typically studs are pine), you should use a 3/32” drill bit. You’ll also need to drill “clearance holes” in the walnut board. Clearance holes are slightly larger than the threads. This allows the board to be pulled tightly against the wall. The clearance hole diameter for a #10 screw is 3/16”. If you need a good reference for wood screw clearance and pilot hole sizes, visit this link to diydata.com.

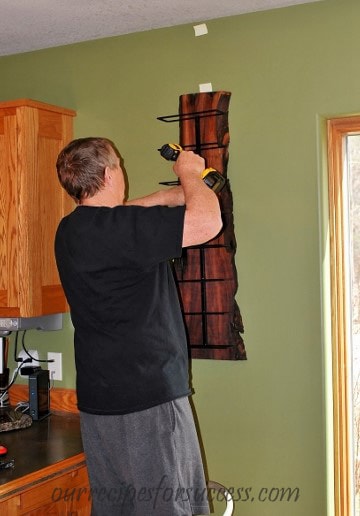
How To Attached The Wine Rack Board To The Wall
Once you determine the fastener size you need, follow the steps below to mount the board.
Putting The Wine Rack Together
Once all the prep work is done now its time to put it all together. With a little help, you’ll have it all done in about 10 minutes. Let’s run through the steps.
That’s All There Is To It
Congratulations, that’s all there is to it. Now fill the wine rack with all your favorite wines. Not only are these types of projects functional, but they can really dress up a room. Remember, there are dozens of styles of wine racks available to choose from and just as many options to mount them on. I encourage you to give it a try and share a picture of your finished project with us.
If you have any comments or questions, you can leave them in the comments section below or you can email us at [email protected]. FYI, we do not collect or share email addresses. We will only use them to reply to your comments or provide answers to your questions. We are also required to let you know that some of our links are “affiliate links”. This means if you click on a link and make a purchase, we could make a small commission, at no extra cost to you. This helps offset the cost of maintaining our website. So, if you like what you’ve seen, please be sure to give us a “Like” and “Share” on Facebook and Instagram too. Thank you for reading and good luck with all your home projects!