Are you tired of looking at that drab old garage floor? Are you wondering if you can paint your garage floor or what kind of paint you should use? You’re in luck! This article has all the information you need to help you answer those questions.
Painting a garage floor isn’t that difficult. Like most DIY home projects selecting the right product for your needs and doing your research is the key. Let us help by sharing our experience in painting a garage floor and some of the tips and info we gained along the way.
In this article, we will be providing you with a few links to some products for pricing and informational purposes. We are required to let you know some of these links are “affiliate links”. This means if you click on a link and make a purchase, we could make a small commission, at no extra cost to you. This helps offset the cost of maintaining our website. Now, let’s get started.
What Type Of Paint Should I Use On My Garage Floor
Table of Contents
When my wife and I made the decision to paint our garage floor, as always, I researched the topic to help make sure we used the best option. What is the best option you ask? I think that varies with every situation and personal preference.
For us, the best option is a combination of product performance and cost. Below are the four choices I researched to help better understand which product was right for us. I’ll share with you what I found for each product and how it influenced our decision.
Concrete Floor Paint
These paints typically consist of latex or acrylic paint formulated to be applied to concrete floors. They are easy to apply, cleans up with water, and are the least expensive option. A one-gallon can usually cost around $30 and will cover 500 square feet (typical 2-car garage).
As with all the below options, the concrete surface needs to be free of dirt, oils, and loose debris. Most concrete floor paint manufacturers recommend etching the concrete before applying. They work well in lower-traffic areas and can usually last 1 to 2 years.
1-Part Epoxy Floor Paint
This option is basically the same as the above water-based concrete floor paint but has a small amount of epoxy resins added. By adding the epoxy resin the paint is said to be more durable than regular concrete floor paint. It also is more resistant to chemicals and stains.
You can also expect the 1-part epoxy paint to last a couple of years longer, under normal use. The surface preparation remains the same and with only a small increase in price (about $35), I feel the 1-part epoxy paint is a better choice than the regular concrete floor paint for a garage floor.
2-Part Epoxy Floor Paint
As the name implies, this option is still a water-based paint, but it has a hardening agent, which you mix in prior to applying. The 2-part epoxy floor paint provides a durable, chemical resistant surface that should last you 5 to 10 years, under normal use.
The concrete preparation is roughly the same as the paint requirements above, but the cost for a 2-car garage kit (500 square feet) is about $200. Although quite a bit more than the paint options, it’s still well within most DIY budgets for a project of this size.
2-Part Epoxy Floor Coating
This coating is not considered a paint, but a true epoxy coating. This is more of a professional, commercial-grade product that typically will not be a weekend project. The cost for a kit like this can be in excess of $1000. Also, the concrete surface preparation is much more extensive as well. The concrete must be ground/roughed, cleaned, and primed before the epoxy coating can be applied.
The real advantage with these products is you can get 10 to 20 years out of them. Don’t get me wrong, is this a doable project. Sure. It is just going to require extra time, extra equipment, and lots of extra work, compared to the other options above. If you choose to take on such a project, you can easily expect to save at least a couple thousand dollars in labor cost.
How Much Does It Cost To Have A Garage Floors Painted?
Not sure you want to take on painting your garage floors. You can always hire someone to do the job. Just be ready to reach deep in your pocketbook! In our experience over the years, for most home projects, we have found that you can take the cost of the materials for the job and roughly double it. That should get you in the ballpark for most projects.
However, applying epoxy floor paint is not a simple process of rolling the paint on and you’re done. It typically requires the better part of a day for cleaning and preparation. Then after completely drying, a return trip for painting is required.
Surface preparation plays a huge role in the success of this project. I’ll cover that in more detail below. To prepare the surface for painting you can expect to go over the floor surface at least 4 times to properly clean and prepare it for painting.
Using that logic I would estimate multiplying the cost of the material by 4 for a more realistic cost estimate for this job. For example, if you spend $200 on your floor paint, multiply that by four to get the rough labor cost. You’ll be looking at approximately $800. Add the cost of the kit to that and you’re looking at around $1000 to have someone come in and do the job for you.
What Floor Paint Did We Use?
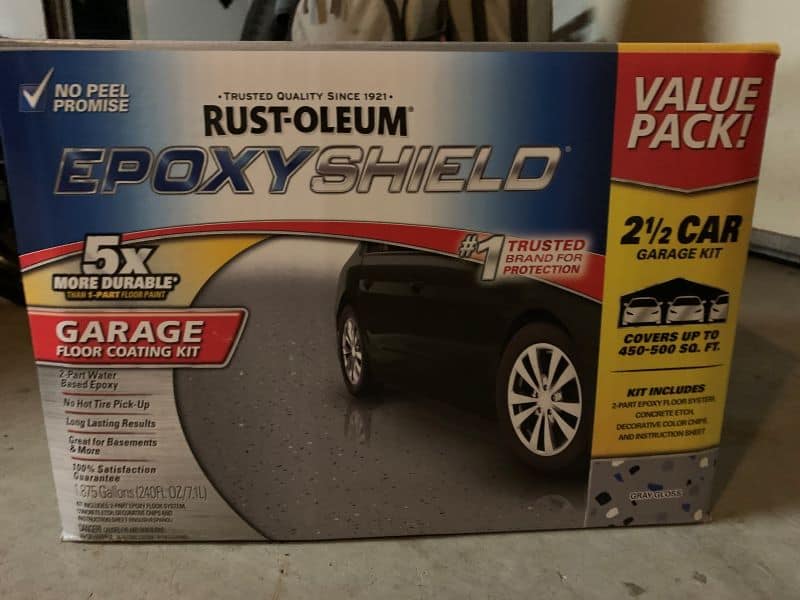
After weighing the cost versus benefits, we chose to go with the 2-part epoxy paint. For the cost, it seemed to have a very respectable life and looked like a project that could be done over a weekend. We went with the Rust-Oleum EpoxyShield brand because it had good reviews and was readily available at our local big box store.
Does this mean you should use Epoxy Shield? Absolutely not! Everyone’s needs and wants are different and unique. It’s all about what you need, how involved you want to be in the project, and what you’re willing to pay. With that said, if you are interested in the Rust-Oleum Epoxy Shield product, we may be able to help you with your decision.
The rest of this article will be on our experience on the installation of the Epoxy Shield. We’ll go over what materials we used, the concrete preparation, and some helpful tips on applying it. And we’ll give you our early impressions on how we like the product.
Rust-Oleum Epoxy Shield Kit
The Rust-Oleum Epoxy Shield kit comes with almost everything you need, except the material needed to apply it, which I cover below. The one thing it does not come with is a cleaner for removing any oils or spill stains on the concrete. There are lots of garage floor cleaners/degreasers to choose from on the market. Rust-Oleum makes a cleaner/degreaser that can be used as well.
I have always had good luck using Simple Green, as an oil and grease cleaner, so I decided to use that. More on the concrete cleaner below in the preparation section.
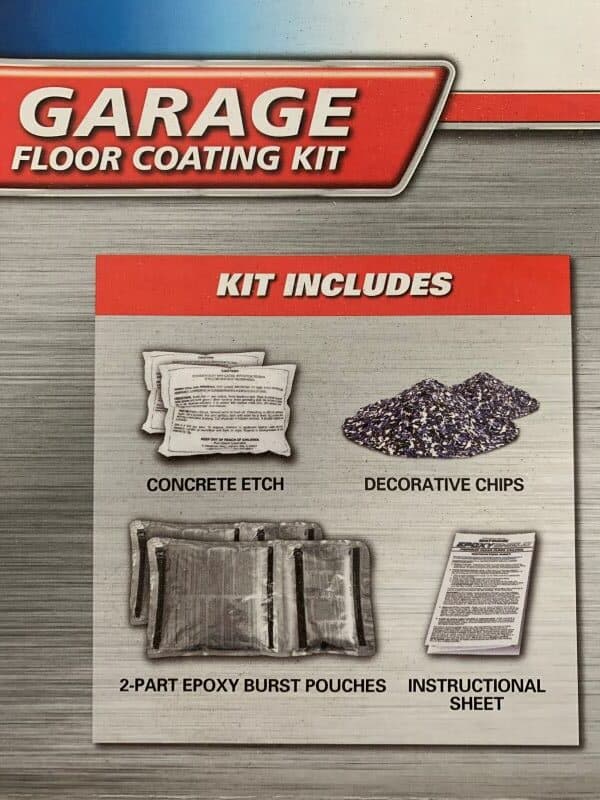
What the Epoxy shield kit does come with is a full set of instructions, a concrete etch, the 2-part epoxy paint, and decorative color flakes to sprinkle on top of the wet paint. We bought a 2.5 car garage kit that doubles up on all these components.
Painting Materials You Supply

This project requires most of the normal supplies needed for any painting project. Below is a list of the materials we used and recommend.
How Much Rust-Oleum EpoxyShield Paint Will I Need?
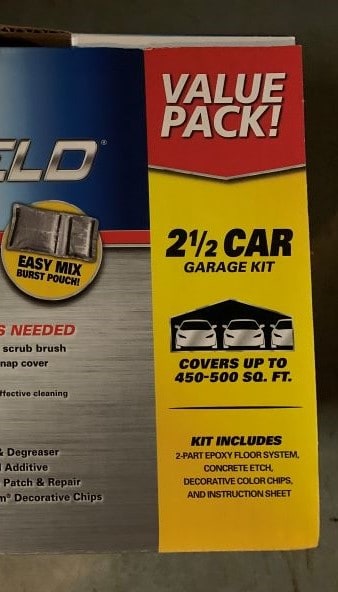
The EpoxyShield kits are sold in 1 car (250 square feet) and 2.5 car (450 – 500 square feet) garage kits. To find what you need just measure the width and depth of your garage floor (in feet) and multiply them together to come up with the total square foot area of your garage.
As an example, our garage floor dimensions are 21 feet x 23 feet, so when multiplied you get 483 square feet. As mentioned above, the Rust-Oleum EpoxyShield 2.5 car kit covers approximately 450 – 500 square feet. We knew it would be close, but we rolled the dice and just purchased the 2.5 car garage kit. We did have an area we decided not to paint if we were running short, but we ended up being just fine. The other option would have been to buy a single car garage kit ($72) to have on hand in case it was needed. It could always be returned if it was unopened.
Rust-Oleum EpoxyShield Kit Coverage
I felt they were fairly generous in their estimate. Not only did we have enough to safely cover the 21 x 23 garage floor, but we also had some leftover. We initially didn’t plan on using the epoxy paint on the 4” sidewalls of our garage, but we had enough paint leftover that we painted the sidewalls too.
This leads to another interesting point. Because the floor was wet we had to wait until the next day before we could paint the side walls. So we sealed the bag and the epoxy paint was still fine the next morning. We were able to paint the sidewalls and it dried with no issues. Keep in mind that the sidewalls will not get any foot traffic and are only cosmetic. We were also working in the lower end of the temperature range for the product (60°F).
With that said, Rust-Oleum states that EpoxyShield has a “pot life” of 1 to 2 hours, depending on ambient temperature, and should be used within that time frame after mixing. Although we were able to use it the next day, obviously Rust-Oleum cannot guarantee proper adhesion and the color shade may vary. It’s always recommended to follow the manufacturer’s directions for best results.
EpoxyShield Garage Floor Paint Application Key Points And Preparation
When planning out your garage floor painting project, carefully reading the instructions is vital. No matter what product you choose. This helps ensure a good long-lasting bond to the concrete. Surface cleaning and preparation is obviously critical for the success of this project, which we cover more below. However, there are a couple of things to consider and plan for before starting.
Pre-Planning Key Points
Number one on the list is that if you are wanting to paint freshly poured concrete, it will have to have time to fully cure. All sources I checked, including EpoxyShield, recommends allowing concrete to cure for about a month before applying any type of paint or sealer.

Next, EpoxyShield highly recommends paying attention to the temperature and humidity when selecting a day, and even time of day, for painting your floors. Both play a big role in the drying/cure rate of the epoxy paint.
In short, be sure to check the weather for your area when picking a day to paint. Then allow at least two days before for the surface preparation and two to three days after for proper curing. Please read the instructions carefully. EpoxyShield provides pretty easy to follow instructions and some very useful information tables to help with the application.
Preparing Garage Floor For Painting
Before applying any type of concrete paint or coating the surface has to be clean, dry, and solid. No loose or flaking concrete or previously applied coatings. If you do have a previously applied coating that is disbonding and flaking, all of the loose material will have to be removed. This could include scraping, sanding, and/or grinding.
Below I am going over how I cleaned and prepared bare concrete for painting. If you do have to remove a previous coating, the below cleaning and prepping steps can be used once the old coating is removed.
To prepare the concrete for painting you’ll need a few tools and cleaning supplies. I will list all the tools that can be used and provide my take on which once worked best for me. Hopefully, this will help you in selecting which items to use.
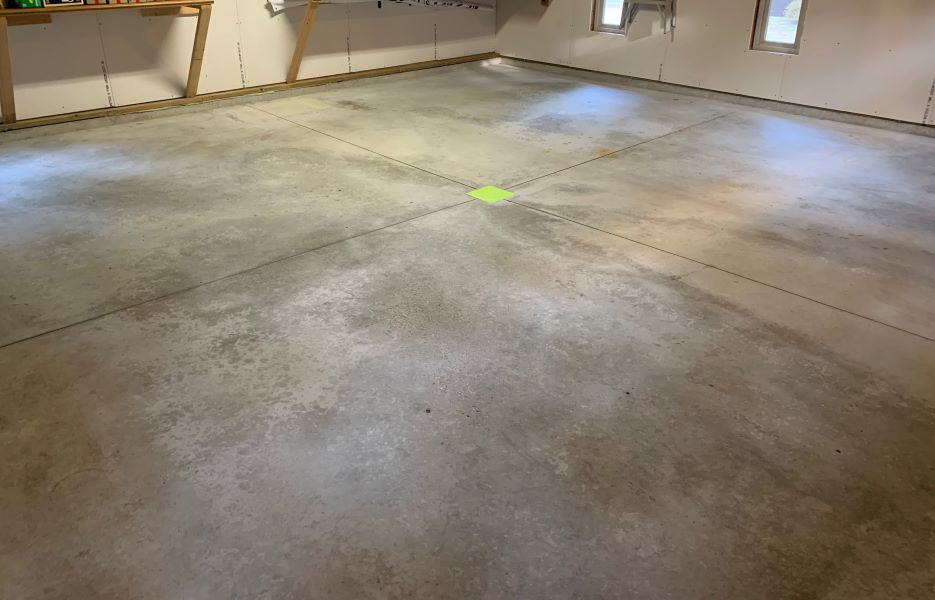
Cleaning The Garage Floor

Cleaned Garage Floor Washed Garage Floor
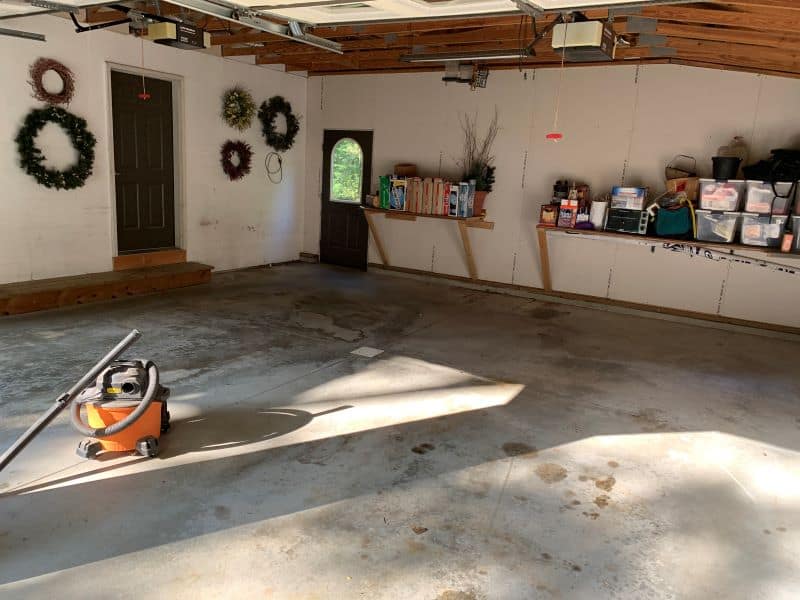
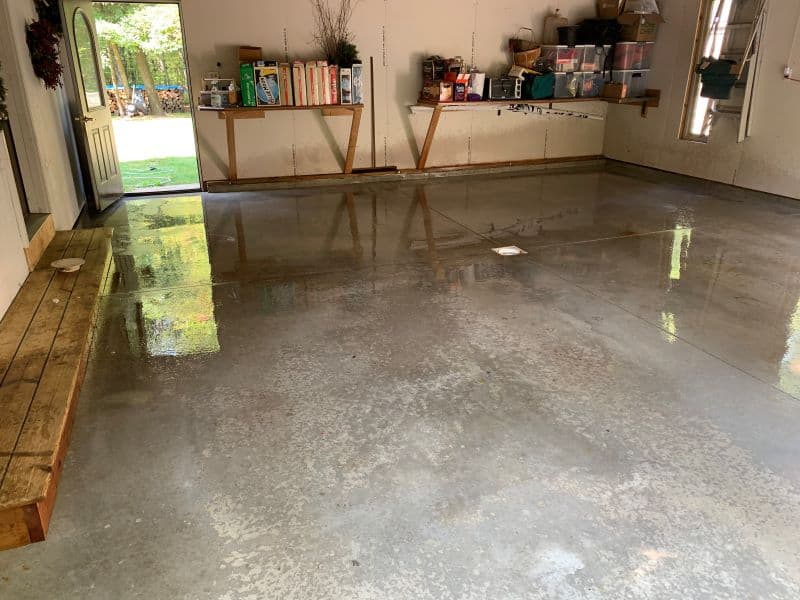
For starters, you’ll want to remove all non-permanently mounted tools, equipment, or storage bins out of the garage. This will allow you access to the entire floor. Below are the cleaning steps I used with a few more details on what worked well for me.
Etching Garage Floor
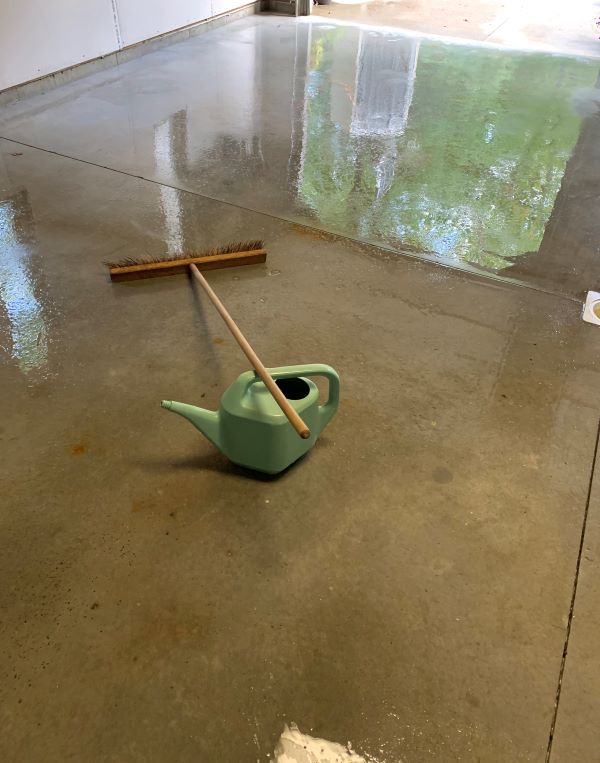
For most garage floor paints to readily adhere to a concrete surface, it cannot be smooth. For that reason, most paint manufacturers recommend etching the surface. The etching component is included in the EpoxyShield kit. Below are the basic steps for etching the garage floor.
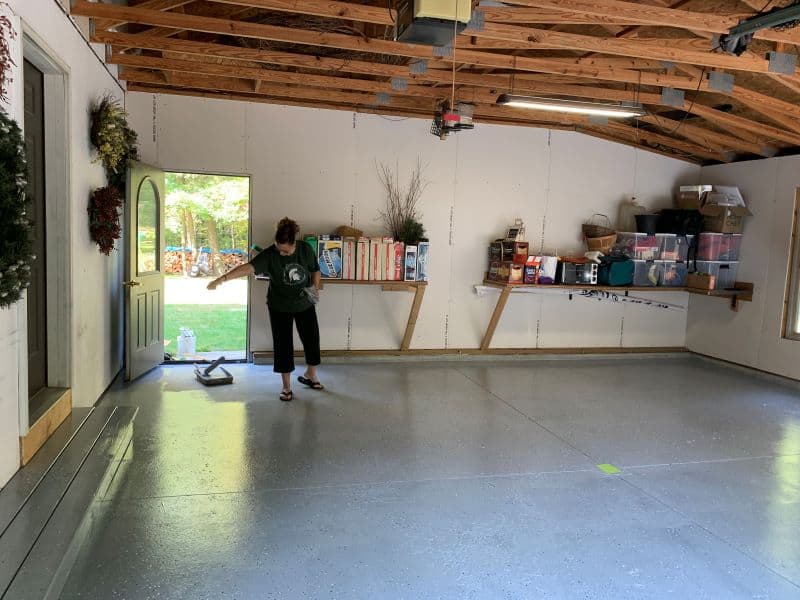
Allow Concrete Floor To Dry
Fans Drying The Floor Blower Drying The Floor
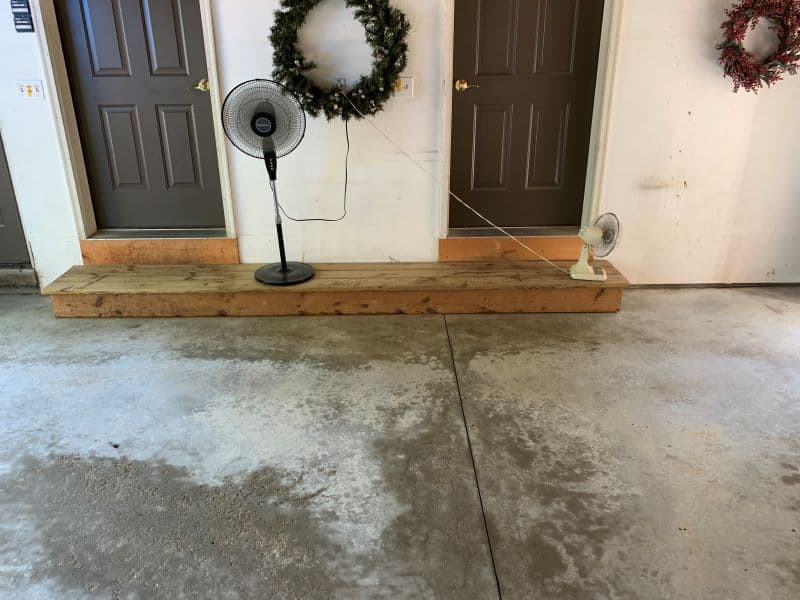
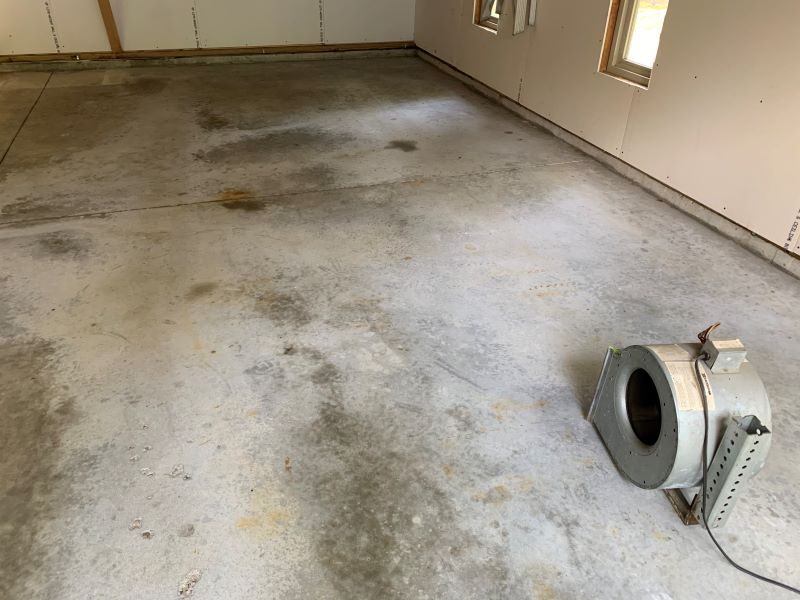
Plan for at least 2 days at 60 – 70 degrees to thoroughly dry. Using fans in corners and other out of the way areas will help dry those areas a little quicker. If the concrete still looks damp, EpoxyShield recommends taping a 2’x2’ piece of plastic down to the concrete and let it sit for 24 hours. If moisture appears under the plastic, allow additional time for drying. Also, try to avoid foot traffic in the area to help keep it clean.
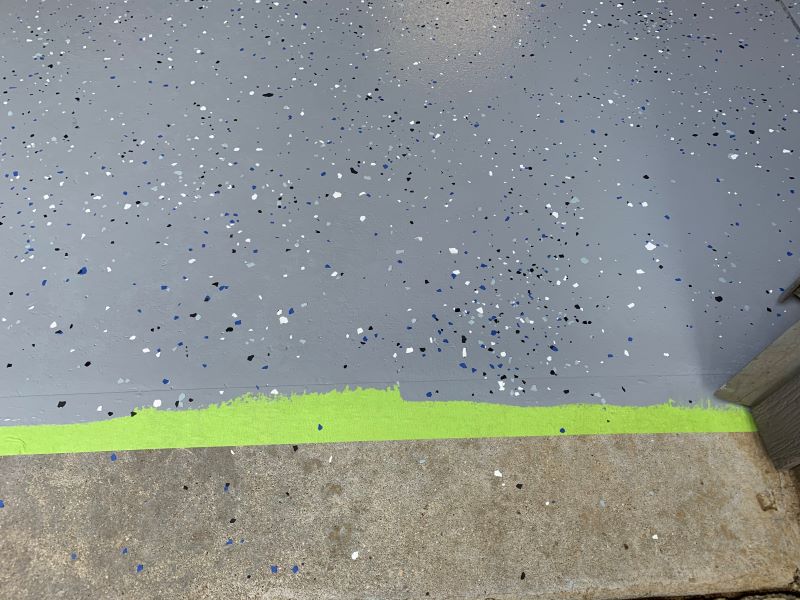
Paint The Garage Floor
Once the floor is dry, it’s time to move on to the painting. But first, you’ll want to tape off areas you don’t want to be painted (floor drains, finished edge under over-head doors, etc…). Next, give the area one last quick cleaning if needed. Wipe your hand across the concrete surface. It should come up clean and dry.
If there is any powdery residue, then you will want to run the shop vacuum over the floor again. If your hand comes up clean, just pick up any loose debris that may have gotten tracked into the area. When using a broom to help clean up the loose debris, make sure it is clean and dust-free or you may do more harm than good. A leaf blower can be used as well, but use them sparingly and at a low speed. They can stir up a lot of dust that could end up settling elsewhere.
I highly recommend using 2 people for applying the EpoxyShield. There is enough work to easily keep a second person busy. Painting along the edges and floor seams with a brush, sprinkling the decorative chips, and mixing more paint (if required). This allows you to continue painting and keep the “wet edges” so the paint blends without any seam lines.
FYI, the trickiest part of the whole job is breaking the seal on the bag between the “part A” and “part B”. Rust-Oleum recommends laying the bag on a firm surface and roll from “part B” (larger) to “part A”. It feels like it will never break! Just apply a good amount of pressure on the “part B” bag and keep slowly working it. It could take a minute but it will release. Then just thoroughly mix as directed.
Again, when applying the paint, just follow the instructions. The 2-part paint goes on a little thicker than regular paint, but can still be rolled out and is easy to work with. If you work on small sections at a time, maintain the “wet edges”, and have a helper, the process is pretty simple.
When we applied our EpoxyShield the temperature was at the lower end of the range (60 degrees) and we had no issues. If you’re applying it closer to the upper end of the range (85 degrees), be aware that it is going to cure a little quicker. I’m sure it will be fine, but the main point here is to be prepared to continue until the floor is completed.
EpoxyShield Curing
The hard work is done. Now you just need to give it enough time to properly cure. We were able to walk on our floor after 12 hours to finish painting the sidewalls around our floor. Because we were working on the cooler end of the product’s temperature range, we also let the floor cure for an extra day (4 days) before moving heavier items (refrigerator and vehicles) back into the garage. Now is not the time to rush things.
Conclusion
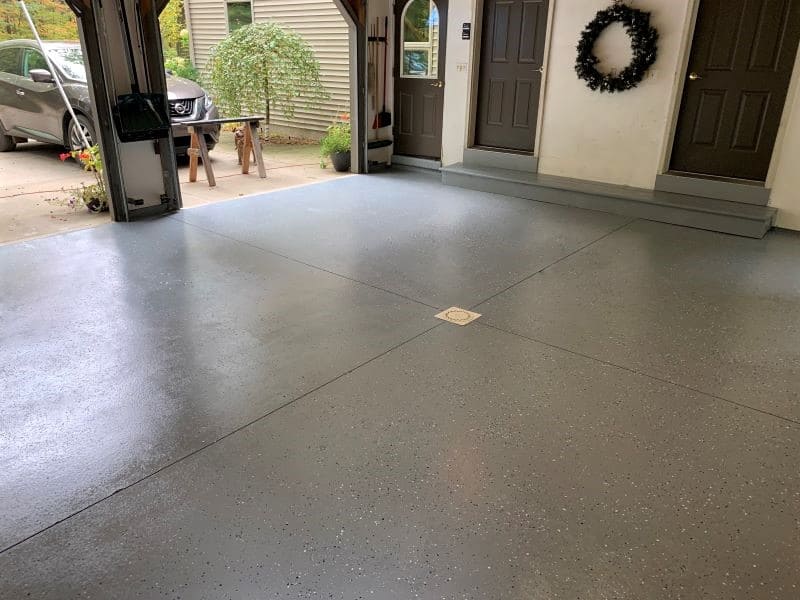
Once you have your fresh garage floor paint applied, you’re going to hate to cover it up. It will totally transform an old drab garage into a nice bright space you’ll be proud to show others. Not to mention, if you’re willing to roll up your sleeves and put in a little work, you can save hundreds of dollars in labor costs.
No matter which kind of garage floor paint you choose, the above preparation and application process will be very similar. I hope this article helps you make the decision on what type of floor paint you want to use, as well as takes the fear out of taking on such a project. Believe me, If I can do it, so can you!
If you have any comments or questions, you can leave them in the comments section below or you can email us at [email protected]. FYI, we do not collect or share email addresses. We will only use them to reply to your comments or provide answers to your questions. We are also required to let you know that some of our links are “affiliate links”. This means if you click on a link and make a purchase, we could make a small commission, at no extra cost to you. This helps offset the cost of maintaining our website. So, if you like what you’ve seen, please be sure to give us a “Like” and “Share” on Facebook and Instagram too. Thank you for reading and good luck with all your home projects!